Create an App with PyQt5 and FBS
PyQt5 is a GUI toolkit for Python. I have a bunch of .py scripts to manage accounts and search data and I want to bundle them into an app. There were several options for GUI toolkits, mentioned in more detail here, but I settled with PyQt5 and fbs.
Create Virtual Environment
Virtualenv (venv) is a tool used to create isolated Python environments. Each project can be run in its own, isolated location, with all the required dependencies for the .py scripts to function.
Create a new virtualenv in the current directory and activate it with the following:
python3 -m venv venv
source venv/bin/activate
The terminal prompt will display a prefix of (venv) when the environment is active. To exit the virtual environment type deactivate.
(venv) IIT-GBR00169:~ hwalkley$ deactivate
Install PyQt5 and FBS with:
pip install PyQt5==5.9.2
pip install fbs PyInstaller==3.4
Now the requisites are installed. If it is necessary to upgrade pip or Python read more about versions here.
One Window App
A simple fbs project can be created to understand a bit more about how the code works.
fbs startproject
There are basic information prompts for name, app name and bundle identfier. Press enter for defaults.

Once set, fbs will create a src/ directory (in the current working directory) and the app can be run with the following command:
fbs run

At the moment the app is a single, titled window. It can be easily turned into a standalone executable and distributed, even though it's not very useful yet.
fbs freeze
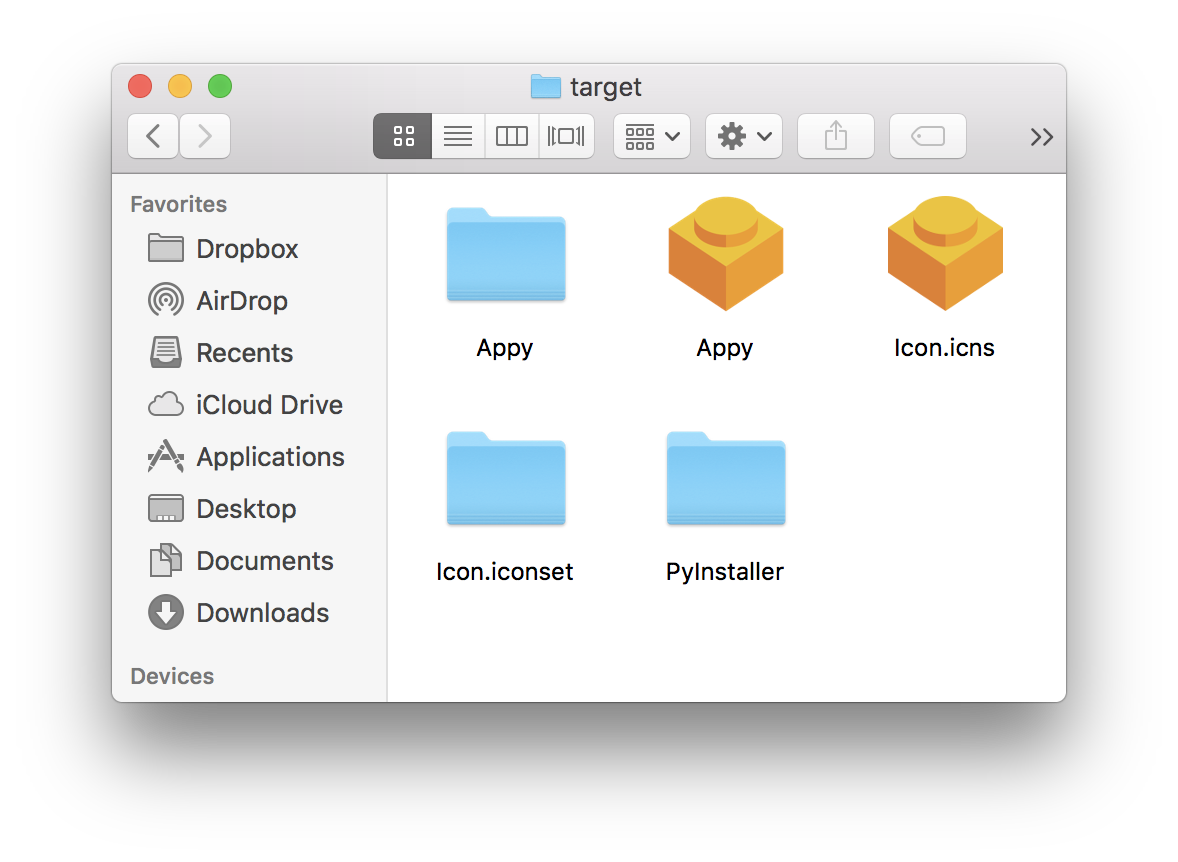
This creates a target/ directory in the cwd and places the Appy executable inside. The app can be run by clicking the Appy icon at target/ directory.

An installer can also be created with:
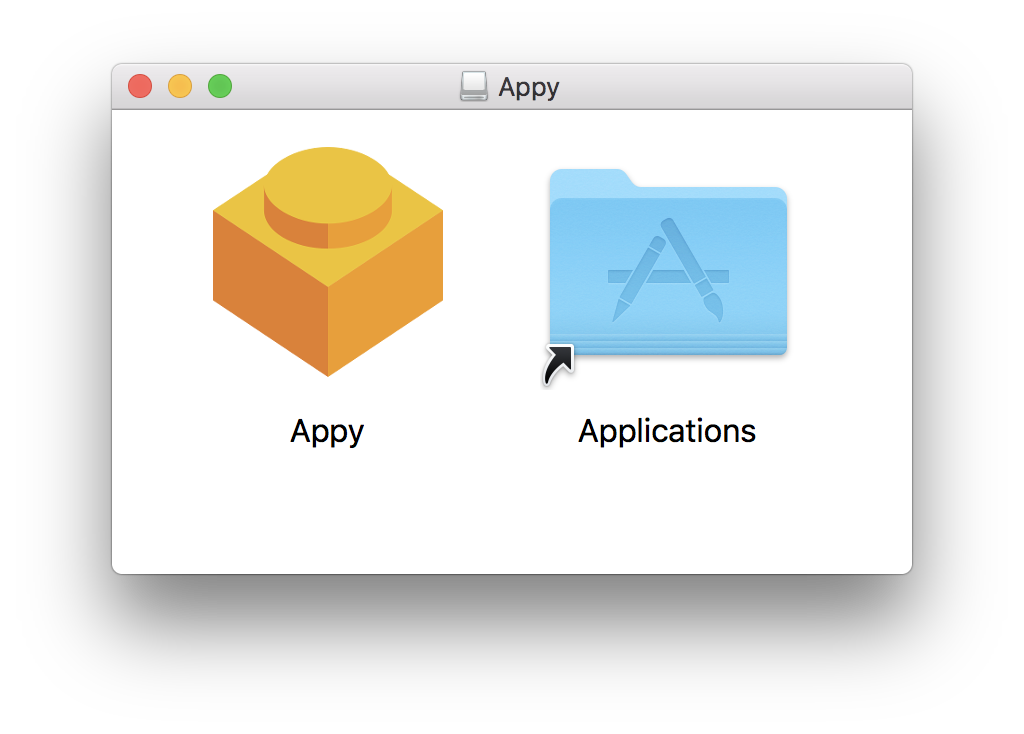
fbs installer

Modifying the Source
Now a basic app is set up and deployable, the source can be changed to add some functionality and make it more useful. The source code is located in src/main/python/main.py and looks like this:
from fbs_runtime.application_context import ApplicationContext
from PyQt5.QtWidgets import QMainWindow

import sys

class AppContext(ApplicationContext):           # 1. Subclass ApplicationContext
    def run(self):                              # 2. Implement run()
        window = QMainWindow()
        version = self.build_settings['version']
        window.setWindowTitle("Appy v" + version)
        window.resize(250, 150)
        window.show()
        return self.app.exec_()                 # 3. End run() with this line

if __name__ == '__main__':
    appctxt = AppContext()                      # 4. Instantiate the subclass
    exit_code = appctxt.run()                   # 5. Invoke run()
    sys.exit(exit_code)
This can be used as a template, changing the lines between comment #2 and #3 to add functionality, and then frozen again. The following modules need be imported for some buttons and layout functonality, and the following lines need to be added to setup and instantiate it all:
from PyQt5.QtWidgets import QApplication, QWidget, QPushButton, QVBoxLayout

    window = QWidget()

    version = self.build_settings['version']
    window.setWindowTitle("Appy v" + version)

    layout = QVBoxLayout()
    layout.addWidget(QPushButton('Top'))
    layout.addWidget(QPushButton('Bottom'))
    window.setLayout(layout)

    window.resize(150, 80)
    window.show()
The window variable changes from QMainWindow to QWidget. Buttons are widgets, in fact pretty much everything in PyQt5 is a widget, and they are arranged with layouts. The layout as a vertical layout with VBoxLayout (to lay them horizontally HBoxLayout would be used). Widgets are added with layout.addwidget, and both are set to be push buttons. The window.setLayout command creates this layout. Adding this to the main.py code results in:
from PyQt5.QtWidgets import QApplication, QWidget, QPushButton, QVBoxLayout
from fbs_runtime.application_context import ApplicationContext
from PyQt5.QtWidgets import QMainWindow

import sys

class AppContext(ApplicationContext):           # 1. Subclass ApplicationContext
    def run(self):                              # 2. Implement run()
        window = QWidget()
        version = self.build_settings['version']
        window.setWindowTitle("Appy v" + version)

        layout = QVBoxLayout()
        layout.addWidget(QPushButton('Top'))
        layout.addWidget(QPushButton('Bottom'))
        window.setLayout(layout)

        window.resize(150, 80)
        window.show()
        return self.app.exec_()                 # 3. End run() with this line

if __name__ == '__main__':
    appctxt = AppContext()                      # 4. Instantiate the subclass
    exit_code = appctxt.run()                   # 5. Invoke run()
    sys.exit(exit_code)
With the changes saved to src/main/python/main.py, the new app runs with the buttons added.

It can now be frozen again as a new executable. There is already a target/ folder in our current working directory (from the earlier build) so it needs to be deleted first. Then the fbs freeze command can be run again to build the new target/ directory.
fbs freeze

Button Functionality
At the moment the buttons do nothing but adding functionality is another one-liner. More on this in the other tutorials, but tagging a .py fucntion to the button is done with:
self.findUser.clicked.connect(self.searchDialog)
A clicked state is added, and the connect(self.seaarchDialog) simply runs a function, in this case a function called searchDialog. This could be any function, but I will define searchDialog in the next tutorials as I go through some of the PyQt widgets.